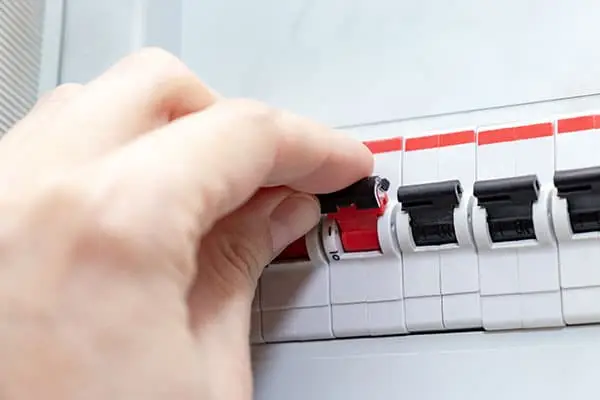
Hey there, DIY enthusiasts! Ready to safely replace a circuit breaker? Today, we’re diving into the electrifying world of circuit breakers. If you’ve ever experienced a tripped breaker or suspect it’s time for an upgrade, fear not! We’re here to guide you through the process of safely replacing a circuit breaker, ensuring your home stays powered up and safe. So grab your tools and let’s get started!
First things first, let’s talk safety. Working with electricity can be dangerous, so it’s crucial to take the necessary precautions before diving into any electrical project. Make sure to turn off the power to the circuit you’ll be working on at the main electrical panel. You can do this by flipping the corresponding breaker to the “off” position. Don’t forget to use insulated tools and wear protective gear, such as gloves and safety goggles, to protect yourself from electrical shocks.
Once you’ve ensured your safety, it’s time to locate the circuit breaker that needs replacing. Most circuit breakers are located inside the main electrical panel, which is typically found in the basement, garage, or utility room of your home. Open the panel door and use a flashlight to locate the breaker that corresponds to the circuit you’ll be working on. You can identify the breaker by looking for labels or by testing the circuit with a voltage tester.
Now comes the fun part: removing the old circuit breaker. Start by loosening the screws that secure the breaker to the panel. Once the screws are removed, carefully pull the breaker out of the panel, taking care not to touch any exposed wires. If the breaker is connected to wires, use a screwdriver to disconnect them, noting their positions for reattachment later.
With the old breaker out of the way, it’s time to install the new one. Start by connecting the wires to the new breaker, making sure to match the wires with their corresponding terminals. Tighten the screws securely to ensure a proper connection. Next, carefully insert the new breaker into the panel, making sure it snaps into place. Finally, reattach the screws to secure the breaker to the panel.
Once the new breaker is installed, it’s time to restore power to the circuit. Return to the main electrical panel and flip the corresponding breaker to the “on” position. You should hear a satisfying click as the breaker engages, indicating that power has been restored to the circuit. Congratulations, you’ve successfully replaced a circuit breaker!
But wait, there’s one more step to ensure your safety: testing the circuit. Use a voltage tester to verify that power is flowing to the circuit and that everything is working properly. If everything checks out, pat yourself on the back for a job well done!
In conclusion, replacing a circuit breaker is a manageable DIY project that can help keep your home’s electrical system running smoothly. By following these simple steps and taking the necessary safety precautions, you can tackle this project with confidence and ease. So go ahead, give your home’s electrical system the upgrade it deserves—you’ve got this!

